Effects of Rapture - Part2
If you haven't already, have a look at part one of the effects breakdown
Character Visualisations
Initially we were not going to have visualisations for the characters but after we started to develop the concepts for the game and after some tests to see what could be done, we decided that we would create light effects for them. We needed to think about how to convey the characters as representations which would be relatively simple and fast to set up. They also needed to match the visual style of the rest of the light effects in the game.
The initial design of these characters were more ghostly in form and were not really defined. As work progressed we realised that these visualisations added a lot to the scenes and we would need to roll out more defined character representations for all of the scenes in the game.
I hope that with the final visual style of the characters, the player can project what they think the character looks like onto each person in the game, similar to reading a book. People often conjure up the faces of characters from their own life or from film that would fit the role of the characters in a narrative. This allows a level of imagination and personalisations to be applied to the characters in our game, which I think is a nice idea. We also thought that this could possibly be a better method than having uncanny valley character meshes and it was definitely an easier to implement solution.
Another important aspect was supporting the dialog and conveying what was happening in each scene. We would need to show what was happening to some characters in a clearer way than if you heard just the dialog alone. We also realised that we would need enough uniqueness in the movement of the characters to hold the players attention throughout the game.
Character Scene Setup
With 80 scenes in the game and one VFX artist, we would need a fast animation process developed.
A range of poses from my pose setup level – props from the game were added to this level so that I could pose the characters to match the meshes.
I had the idea to record the player position for each character so that we could lay down initial animation for all of the scenes. A flowgraph (visual scripting) node was developed to write the player position to another objects position on a timeline, so then I could get to work blocking in the scenes. This script got quite sophisitcated for what it was and allowed me to override and control player speed, target different characters, control heights for different characters and block in players movements with proxy meshes. This also allowed for scenes to be moved to a new location and reanimated quickly. By using a PS4 controller I could actually get some nice accelaration and movement using the controllers left stick.
This massively reduced the time needed to animate the characters. It also allowed for a sort of an acting type of animation. I would block in one character, controlling the player, then block in the second based off of the first characters movement. I could control the player in real-time and normally act through the scene a few times to get the movement correct.
We then decided that we needed to flash the shape of the character as they talk. I created a very basic low-poly character mesh and created one for each of the main age groups. I had an old man and woman, middle age man and woman, two teenage meshes, a child mesh and a baby.
Shot of some of the various character shapes used to create the character visualisations
I thought that this should cover all of the age ranges throughout the game. This created subtle differences in the light shapes that each character produced and hopefully added something to the effect. Possibly I should have emphasised the differences more but I wanted the characters to feel real and didn't want to make them characatures.
We created a way of adding markers to the audio files to trigger poses. This mean't that the character flashes would be very easy to setup since the user could go through the audio file and just drop a marker at a specific time for the character to light up.
So, at this point, we had characters moving around and a default pose that would light up.
We then decided that we would need to create multiple poses for each character the game. So in modo, I took the range of default characters I previously created and rigged the characters so that I could pose them. Modo has a great posing tool for positioning characters quick and easy. Following on from this I then went on to create key poses for each moment in the game that needed it. I ended up creating over 400 poses in total for all of the 80 scenes in Everybody's Gone to the Rapture. These poses were used as an emitter for the light particles in the game.

In-engine character pose representations for a scene that was later moved
We also needed to hook the main tilt effects to the characters so that as the characters moved around the tilt reacted to their new positions. The idea was that the tilt effect was the core of the scene and that it generated the characters around it.
Towards the end of development the scenes were worked and reworked mainly adding poses, sometimes shifting their positions and a lot of tweaking until each scene got signoff. The fact that the character setup was relatively simple mean't that itteration on the scenes could be pretty fast and we could experiment with many ideas or rework scenes in an efficient way.
There were some scenes that were tough to get right, especially towards the end of the game where some of the ideas we were trying to convey were more abstract or ambigious. In all scenes in the game, the visualisations were always heavily influenced by both the tone of the narrative and the music but getting the harder scenes to work often mean't paying very close attention to these aspects of the game. Getting the tone right was the most important thing in all of the scenes and this is where tweaking the scene setup was vital.
Bypassing The Usual Process
Instead of having to delve into the character animation system in Cryengine, that would have taken months, we instead did all the character work outside this system. I think that we could have animated the characters in a more conventional way but we would have needed to expand the team and get involved in many areas of technology that noone here was familiar with. If we would have animated the characters in a traditional way, it would have been very hard to update the spaces that the characters inhabit in the game since the animation would have to be redone and would have taken a lot of time. Moving scenes around or reanimating them to benefit the game would also have been adding massive amounts of work to the project. It would also not have added too much in the end, since the characters would still be represented as light.
I think that this indicates that having limitations forces you to try to come up with new solutions to problems, rather than following the conventional and often times expensive routes. This also lead to a very different look and feel for character visualisations that possibly stands out more than the usual mesh-based approach.
Other Possibilities
Could there have been more that we could have done to differentiate the characters in the visualisations? I think that this could have broken the look of the effects and would have trivialised the ideas behind the visualisations.
We could have use colours to differentiate people but this would have broken the visual language of the light effects. We could have exagerated their proportions so that it was obvious by their shape that they were different characters but this would have turned them into characatures rather than real people. We could have changed the effects in various ways for each character but either this would have been so subtle that it would be hard to pick up or too obvious and would break the visual style.
The standardisations kept a clear visual style for all of the events, it mean't that the pattern viewed the actual physical matter of the peoples bodys as the same stuff and didn't just turn the visualisations into a mechanic. It also mean't that the viewer would need to imagine the characters more than just saying that the blue effect is Stephen and the green one is Kate.
Other Effects
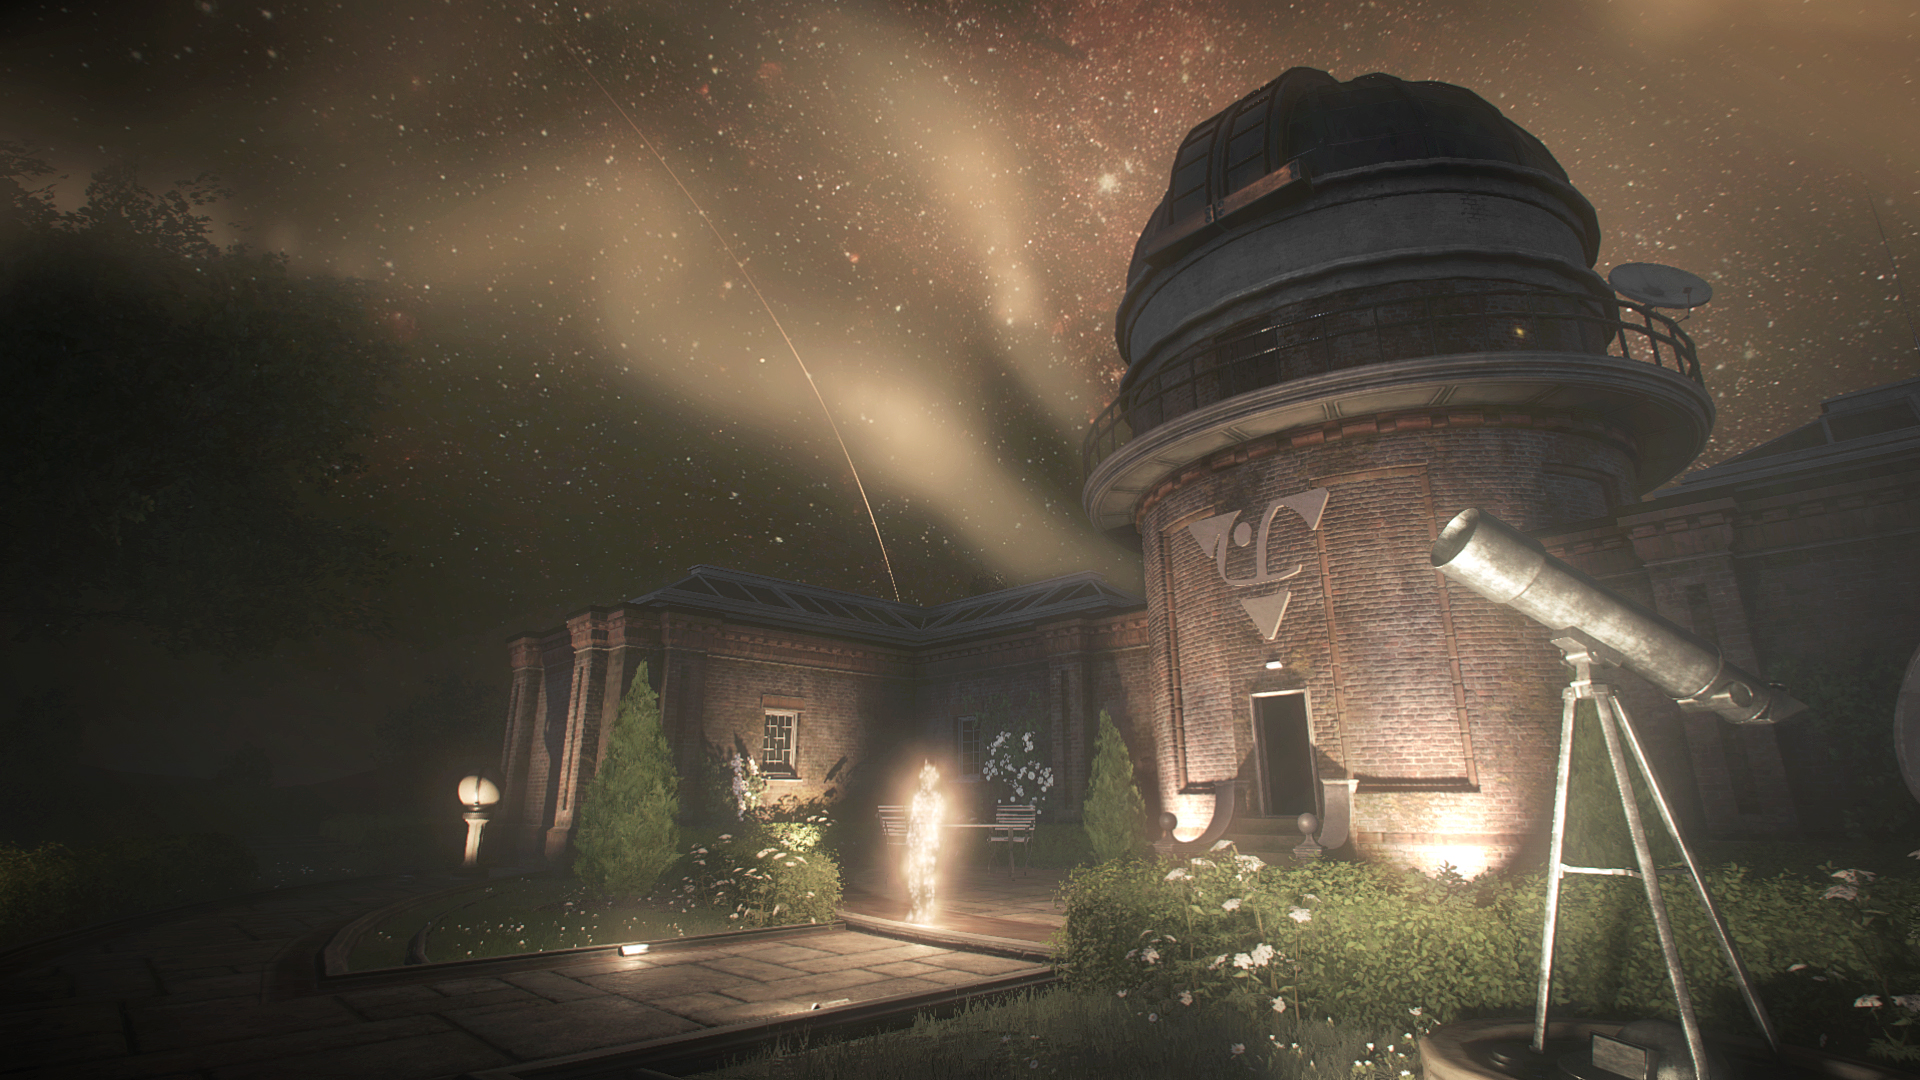
Observatory Effects
Making the observatory effects was a great experience since they were abstract and I could play around with the particle system to see what would come out. The effects needed to have a similar visual language to the rest of the light effects in the game but I wanted to push them further.
End of observatory early screenshot showing a character and the aurora
Initial effects that were created for the observatory were huge and spiralled up into the sky like massive slow-moving fireworks. I also created massive rings emanating from above tower 6 that would light up the world as they passed over. Other effects included the growing of trees, bushes and plants as well as even trying out a recreation of a nervous system out of effects. As we developed the observatory I also created a lot of small, more intimate effects that would appear around the player as they walked through the space to fill out the world.
Some of the smaller effects made for the observatory – some made it into the final game
After a while we realised that the smaller effects suited the end of the game more than the massive effects since they were more intimate, slower moving, matched the rest of the game effects more closely and they would sit in-line with where the player would be looking most of the time. Also, after a while of looking at the large effects, the spectacle of size became arbitary compared to the smaller effects. So, the large effects were scrapped for the more intimate close effects.
The feel of all of the effects in the observatory went through this process, from going from large spectacles back down to the more intimate or personal, including the end scene. This suggests that most choices made in the art style of a game should be driven by the core message and feel of a game. The fundamental message that you are trying to convey should be messaged through all elements of the art.

Early visualisation for end of game sequence
Ambient Effects, Environment Effects, Physics & Water
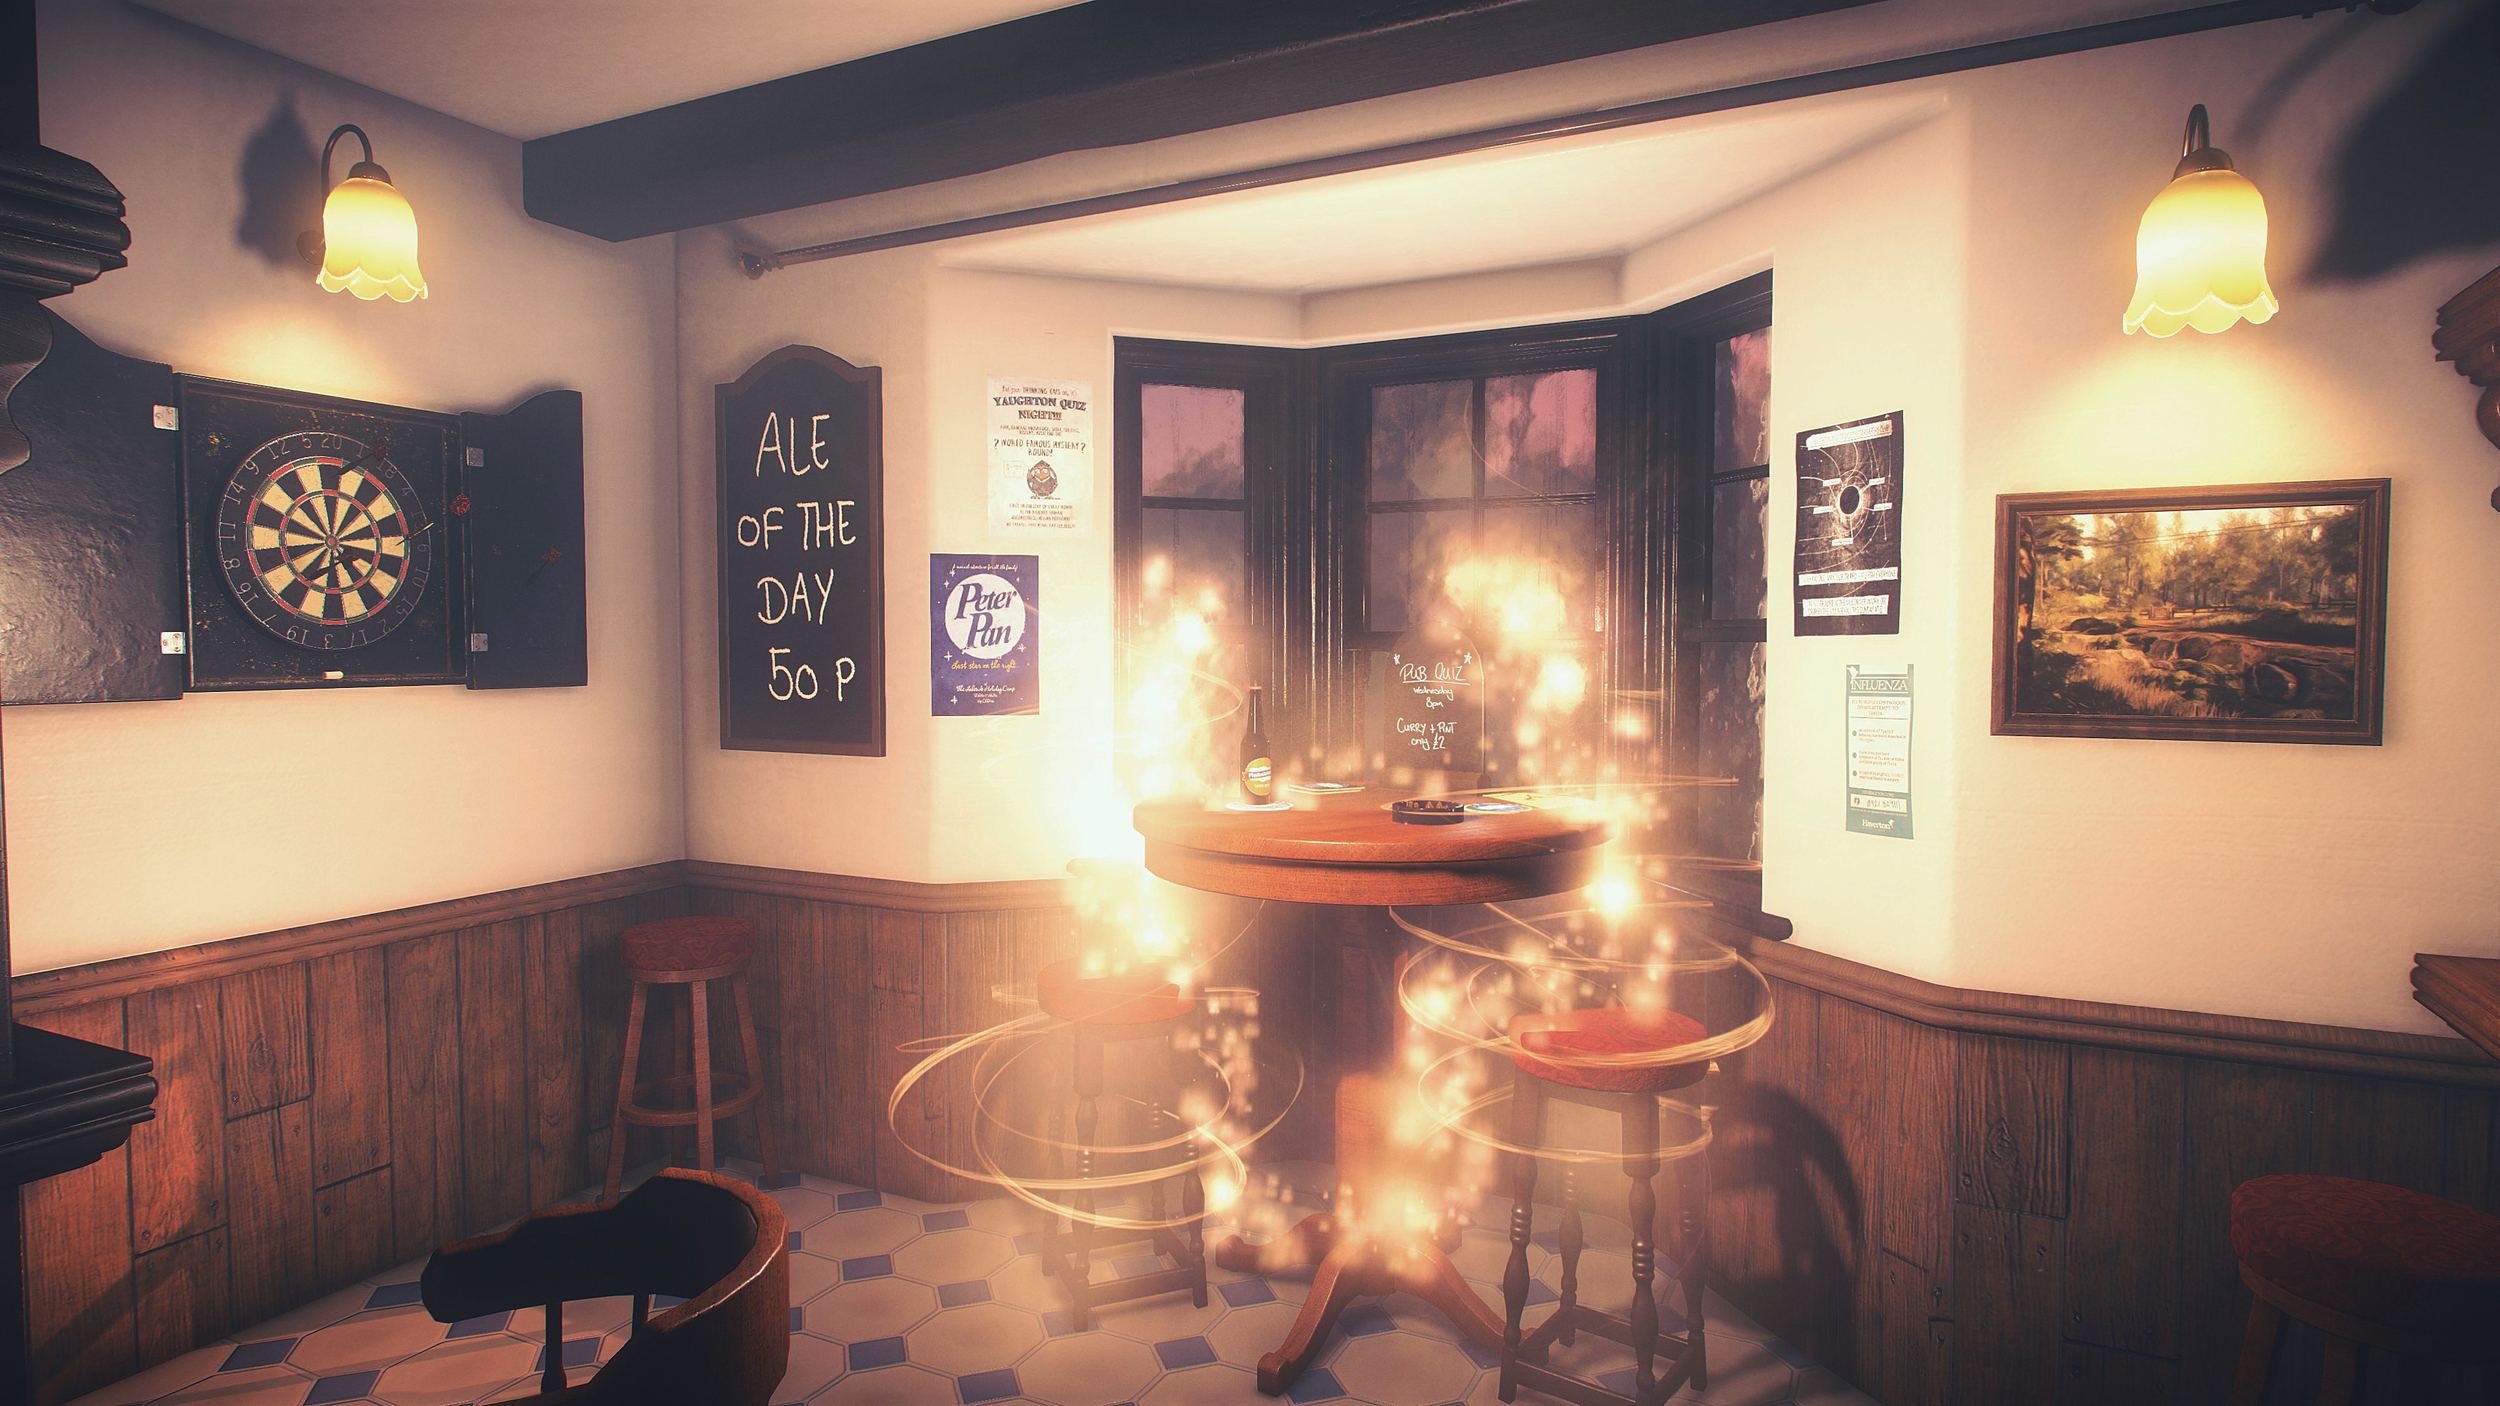
I spent a good deal of time setting up ambient and environment effects in the world for adding movement throughout the game and bringing the environment to life. Ambient effects like pollen and flies were setup around the player that change throughout the game, depending on where you are in the world. I also created and placed many effects throughout the world, for instance, the bees, dragonflies, butterflies, smoking fires, leaves, moths and dust in the houses.
These effects all add to creating a living world around the player. We realised early on that if we didn't have these moving elements, our world would feel quite dead and could possibly feel oppressive over the course of a playthrough.
All of the effects are also positioned in the world relative to logical places that they would appear, for instance, you only see dragonflies near water, bees are in areas surrounded by flowers and pollen blows in the air in heavily vegetated areas. This seems quite obvious but if any effects are positioned in bad locations it breaks their purpose and relevance. This mean't that as areas got updated and changed around or more dressing appeared in the environment, I would go over the world and relocate or add effects.
The effects through these sections were also driven by the emotional tone that we were trying to convey in the different sections of the game. As the player moves through the game, the tone shifted and I changed the type or amount of different effects used in areas depending on tone. This creates an arc for the type of effects in the game and a continual shift in the type of effects used.
I setup all of the rivers in the world balancing their shaders and creating flowmaps for controlling water flow direction. The waterfalls also were created from meshes which I used shaders to control water movement and created particle effects for splashes and sprays.
Physics was also an area that I explored in Cryengine, mainly doing in-game physics setups and no pre-baked physics. This was initially looked into so that we could have the motes in the world interact with objects but eventually we just used the physics setup for animating some of the assets in the game when the player interacts with them, for instance, the swings and witches hat in the village playground.
Conclusion
I really enjoyed working on Rapture.
It was a very interesting and challenging project to create effects for. I feel that I've progressed my understanding of effects through the exploration of the visual languages needed for the effects on this game. Since The Chinese Room is a small studio I've been involved in so many aspects of making the game. With a small team comes a larger responsibility but also a larger creative input in the project.
I've learned that large effects are not necessarily any more impressive than small ones, that the narrative tone should also drive the visuals, that character representations don't necessarily need to be photoreal and that creating visual metaphors of characters can sometimes allow the player to bring their own imagination to a story.
I also learned that it takes time and instinct to reach the correct place you are looking for with effects but when you reach the right spot, you often know straight away.